Wednesday, June 20, 2012

S'mores Pizza

Since a picture is worth a thousand words, I don't think that I need to say anything more after showing you that. Seriously. If you don't think that looks delicious, then there's something wrong with you.

So this little experiment happened almost a month ago, but I decided to finally blog about it now, because it's crappy out and I need something to do before I stuff my face with pizza. I wish I was stuffing my face with this pizza.

What you'll need:

  • One tube of Pillsbury pizza dough, or whatever brand you prefer
  • 1 bag of chocolate chips
  • Mini marshmallows
  • 1/3 cup brown sugar
  • 1/2 cup rolled oats
  • 2 tablespoons softened butter
  • 1/4 cup flour
To make:

- Prepare the pizza dough according to directions on tube.
-Dump the entire bag of chocolate chips on top of prepared crust, following with as many marshmallows as you'd like.
-In a bowl combine the brown sugar, oats, butter and flour. Sprinkle mixture on top of pizza.
- Bake for ten minutes, then enjoy!

Before...

After. With a bite taken.

Monday, April 23, 2012

Seashell Cupcakes

So... Last week was a long week. School is stressful on a whole multitude of levels. The only thing that got me through Friday was the prospect of these.
Aren't they adorable?! Come on, tell me they're adorable... I came home on Friday and decided to get baking. I made these for my cousin Cecilia's wedding shower that was the next day, Saturday. She's getting married next month in Iowa, but the wedding shower was beach themed, so it was time to be a little creative!

Of course, I had help with this project. Morgan took care of most of the seashells which were made with Wilton Candy Melts in a Wilton Candy Seashell mold. Those candy molds are fun to play with and they're available at almost ever craft store. I also had help from my awesome boyfriend, Noah. Look at us, rocking some aprons.
Since I had to make forty eight cupcakes, and I wanted to make they were tasty, I simply used boxed cake mix for the cupcakes. My new favorite method is to put all the batter in a large Ziploc bag then cut off the bottom corner to pipe the batter into the cupcake liners. It's so much neater than spooning batter into the liners, and I'm a messy baker as is.

Noah really likes his cupcake batter.

For the frosting, I simply used my favorite butter cream frosting recipe, found here. I dyed the frosting light blue and piped the frosting to kinda look like waves. The project was really easy and the results were phenomenal. I received many wonderful comments at the shower and I appreciated every single one of them. I'm glad my baking addiction can benefit others in some way.

As always, enjoy!

Tuesday, April 17, 2012

Chocolate Chip Cookie Dough Peanut Butter Cups

Hey! Take a look at my weekend.
Oh yeah. You got that right. It's the perfectly heavenly combination of my three favorite things: peanut butter, cookie dough, and chocolate. I happened to get this recipe from my favorite food blog. This woman is probably the biggest fuel to my baking addiction. I try out a ton of her recipes. I promise to blog about them today between intervals of dancing to James Taylor and Neil Diamond with my little sister, Alaina. She really seems to love to dance with me... That probably has to do with the fact that I make silly faces while lip-syncing.
Anyways... On to these amazing things!
You can either click the link, or I'll just re-post the recipe here.

What you'll need:

  • 2 1/2 cups milk chocolate chips
  • 1/2 cup (1 stick) butter
  • 1/3 cup brown sugar, packed
  • 1 teaspoon vanilla
  • 1/4 cup creamy peanut butter
  • 3/4 cup powdered sugar
  • 2 tablespoons flour
  • 1/4 teaspoon salt
  • 1/2 cup mini chocolate chips
-In a small saucepan, warm butter until melted. Whisk in the 1/3 cup of brown sugar until fully dissolved, then let the mixture bubble for a minute or two. 
-Remove pan from heat then whisk in peanut butter, then vanilla. The mixture will be very liquidy, let it set for twenty minutes to cool fully.
- Line a mini cupcake pan with 24  mini cupcake liners. Melt 1 1/4 cups of milk chocolate chips in the microwave. Then pour about one teaspoon of chocolate in each liner and using a pastry brush (or in my case, a rubbery basting brush thing, that looked more like a squid, but was fun to play with) and brush the chocolate around and up the sides of the liner. Place in freezer for twenty minutes to harden.

-Once heated mixture has cooled, whisk in powdered sugar, salt and flour and combine until just a few lumps remain. Then fold in the chocolate chips, and place the mixture in the fridge for fifteen minutes so the mixture can solidify. 
- Take mixture out of fridge and the chocolate cups out of the freezer. Roll about one teaspoon of the cookie dough mixture into a ball and place in the chocolate cups. 
-Melt the remaining chocolate and top the chocolate cups. Then place back in the freezer for fifteen minutes.
After that, feel free to enjoy! I had to keep these in the fridge because they were melty, but they were devoured all the same. I made these on Saturday with my two amazing friends Chelsea and Meghan and by Sunday they were gone. I'm definitely guilty of eating one or twelve... I can't wait to make these again.


Wednesday, March 7, 2012

Chocolate Cupcakes with Chocolate Frosting

Okay, so today I really had no excuse to bake... Except that I wanted these...
It's finals week! A girl can bake and eat her stress away about a Chemistry final, right?

You're going to have to excuse the crappy photography that goes along with this post. I ran out of natural light, and the lights in my kitchen like to make everything look unappetizing- the complete opposite of what should happen in a kitchen- but nothing else could be done. You'll just have to trust me on this one; these were AWESOME. I love to bake, but I don't usually like what I make. Today was an exception.

The best part is that these were super simple! I just used a recipe for the cupcakes from a Betty Crocker cookbook and I found an amazing frosting on Food Gawker (if you haven't seen this website before, go. Now. It's like food porn. Wait, I probably shouldn't say that on my blog. Too late.)

Okay, seriously bad picture. I know. I'll just stop with this madness and get on to the recipe. Cool? Okay, cool.

What you'll need-

For the cupcakes:
  • 2 1/4 cups flour
  • 1 2/3 cups sugar
  • 3/4 cup butter
  • 2/3 cup baking cocoa
  • 1 1/4 cup water
  • 1 1/4 teaspoon baking soda
  • 1 teaspoon salt
  • 1 teaspoon vanilla
  • 1/4 teaspoon baking powder
  • 2 large eggs
To make cupcakes: 
  1. Preheat oven to 350 degrees.
  2. Beat all the ingredients in a large bowl on low for 30 seconds, then beat on high for another 2-3 minutes.
  3. Pour into baking liners, then bake for 20-25 minutes.
  4. Wait until cupcakes are cooled completely before frosting.
What you'll need for the frosting:
  • 2 1/2 cups powdered sugar
  • 1/2 cup cream cheese at room temperature
  • 3/4 cups (1 1/2 sticks) butter at room temperature
  • 1 teaspoon vanilla
  • 4 oz dark chocolate
To make frosting:
  1. In a bowl, beat one stick of butter and cream cheese until light and fluffy (about 2 minutes.) 
  2. Add sugar and continue to beat on low, then add vanilla.
  3. In a separate bowl, melt half a stick of butter and the chocolate for about 20 seconds and stir until smooth.
  4. Slowly beat the chocolate mixture into the butter and sugar mixture for two more minutes at medium speed.
  5. Spread on cupcakes and enjoy!


Monday, March 5, 2012

Angry Bird Cucpakes

Today is my favorite brother (to be fair, I only have one brother), Cooper's 8th birthday! I remember on this day, what seems so many years ago... My mom came into my room to tell us her water broke, to which I reacted by jumping up so high I hit my head on my bunk bed, while my sleepy sister Morgan simply mumbled "What happened to your sink?" It was a very exciting day and I've loved every minute of having a little brother... Including the moments where I've wanted to tear my hair out when he's being annoying!


Anyways...Since my mom and her boyfriend are jetting off to Mexico (lucky ducks!) on Friday, we celebrated Cooper's birthday on Saturday. Since I'm the baking addict, it was up to me to come up with his cake.

Tada! Cooper is obsessed with the game Angry Birds, that can be found for iPhones, iPads, and you know all those other Mac products. With a little bit of help from Google, I was able to come up with these!

I can tell you right now that I have no future as a cake decorator, but these were sure fun to make.


The best part was that these were pretty easy to make! I started out by simply baking a box of vanilla cupcakes, because Cooper is weird and doesn't like chocolate cake... Well, he is only half-related to me. Something had to be off with him. Once I baked the cupcakes, I grabbed a tub of frosting and split it up into four separate bowls to dye the frosting.

Once I frosted the cupcakes, it was time for sprinkles! My mom had a tough time finding tubs of just one solid color sprinkles, but was luckily able to go up to the bakery at the grocery store and they sold them to us. The sprinkles act as feathers for the birds, and the best way to get the cupcakes "feathered" up was to simply dunk them in the sprinkles.

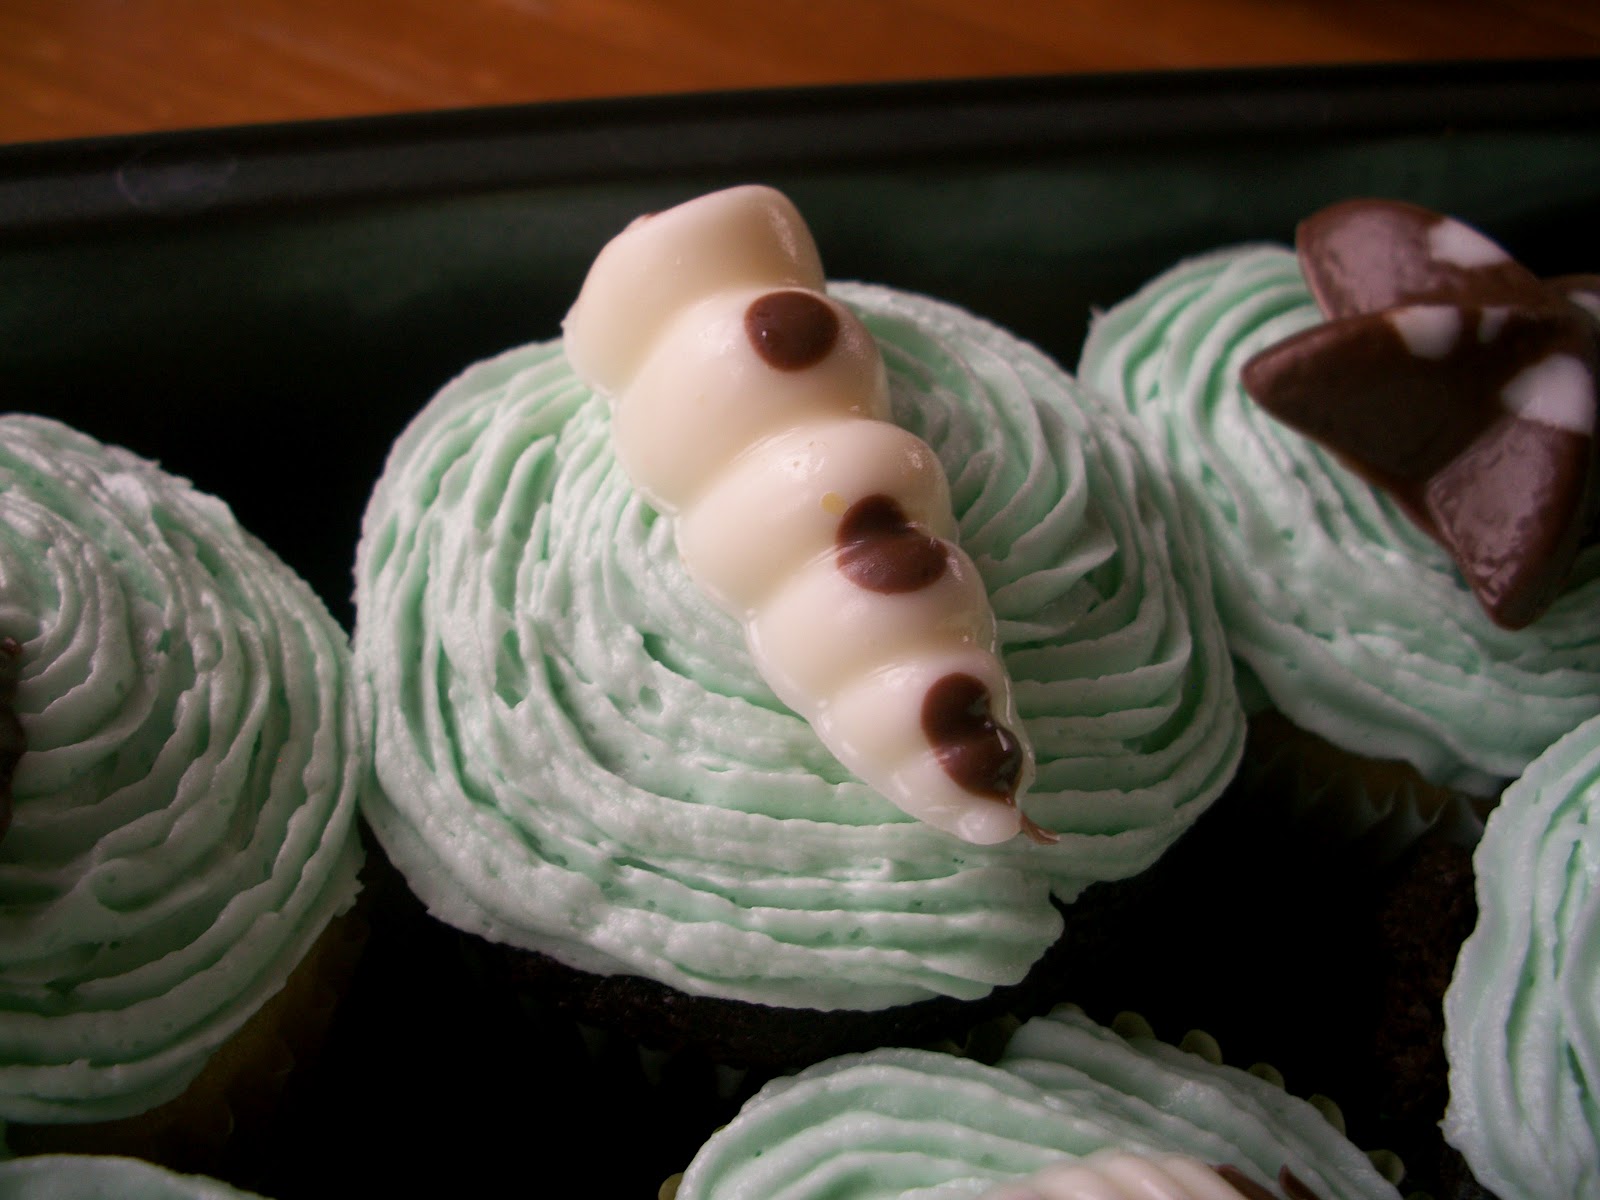
Next I cut marshallows in half and flattened them, so they could be placed on the red and blue cupcakes to act as the bellies for the birds.
To put together a bird: Place half a flattened marshallow on the bottom of the bird. Cut orange gummies into thirds for the beaks, and place one beak above the belly. Slice mini marshallows in half, and press into frosting for eyes. With a toothpick and frosting, attach mini chocolate chip to eyes. For the angry eyebrows, either slice up black licorice pieces, or go for black licorice rope. I added some other sprinkles and jelly beans above the eyebrow to complete the Angry Bird look.


I also made the pigs! I started by covering  half a marshallow in frosting, and sticking it on the cupcake for the snout, then placing mini chocolate chips for the nostrils. The eyes are the same as the bird's, with half a mini marshmallow and mini chocolate chips. The teeth were created by slicing a mini marshmallow into fourths. Finally the ears are just Sweet Tart jelly beans and I threw some green sprinkles on at the end to complete the piggies!
All in all, I think these were pretty awesome- even with my amateur decorating skills. Oh, but I wasn't alone with this decorating. I must give some of the credit to Noah, who probably didn't expect that I'd post this next picture of him!


Well anyways, Happy Monday and happy birthday to Cooper! I'm going back to bed. Enjoy!