Sunday, January 29, 2012

Sprinkles Red Velvet Cupcakes

Okay, so today I don't really have a recipe... I just wanted to show  you the red velvet cupcakes I made out of a box/cylinder of Sprinkles cupcakes. They look so awesome, I can't even handle it. I topped them with buttercream frosting, you know the recipe I've been using all the time now... So... Enjoy!

Thursday, January 26, 2012

I'm sorry, I'm sorry, I'm sorry!

I've been awful about blogging, I know. So much for my New Years' resolution to blog more. I'll get better, I promise. Today is the start of me getting better. I'm at home alone in a dark room trying to get rid of my three day long migraine, so I thought "What better way to get rid of a migraine than to stare at a computer screen?!" I know I'm not always the brightest but I figured I should share some pictures of things I've baked since my last post.

These adorable little treats are mini vanilla cupcakes, champagne buttercream frosting, chocolate ganache, champagne soaked strawberries, and they're topped with a sparkler which was eventually lit... Outside on the balcony. I made these with my mom's amazing best friend Michelle on our stay in Florida. Michelle was kind enough to let us stay in her apartment, eat delectable Vanilla Kremes from Dunkin' Donuts wherever we pleased, and party on New Years' eve! She also took this picture, so I can't take credit.
We found this recipe in a book at Barnes & Noble. I took pictures of the recipes, but I accidentally deleted them. So for now, you'll just have to stare at this picture... Or attempt to figure out how to make them.

I have also made Funfetti cookies. I forgot to take a picture... The recipe is simply on the side of a white cake mix box... I added white chocolate chips to make them a little more special. Cookie dough cupcakes were also made... You know where to find the recipe for those!

There were also these... I had supposedly been on a baking ban (since I'm a messy baker and often forget to clean up my messes- sorry Mom!), but I forgot. I went out, bought some cake mix with Noah, dyed the batter, baked these then made buttercream frosting used here, but I halfed the recipe. My wonderful brother, Cooper got me a cake decorating set for my birthday and this day was a trial run with icing decorating. Noah was my helper that day, and he did this... I must admit- that boy is pretty cute...

Well, this is all I have for today! I'll be baking soon, I'm sure and I promise I'll blog more this time. My friend Ellie got me a cookie book for my birthday- a new trend could be starting soon. Time for me to go take a nap and rest up!

Sunday, December 18, 2011

Chocolate Chocolate Chip Cookies

So occasionally my boyfriend Noah likes to give me ideas on something he'd like to eat. He's been doing this for almost a year now, back when we were just friends... Starting with lemonade cookies that I experimented with last summer.  But one day back in September he told me he wanted to eat chocolate chocolate cookies... Almost three months later:

These things were delicious. I almost regret giving Noah the entire batch... He did crumble up a few and put them in ice cream for me though. So... I think we're good.

What you'll need:

  • 1 1/4 cups butter (prepare for artery clogging.)
  • 1 1/2 cup white sugar
  • 1/2 cup light brown sugar (really it should be two cups white sugar, but I experimented this way, and they ended up delicious. So, really it's up to you.)
  • 2 eggs
  • 2 teaspoons vanilla
  • 2 cups flour
  • 3/4 cup baking cocoa
  • 1 teaspoon baking soda
  • 1/2 teaspoon salt
  • 2 cups chocolate chips (give or take)


-Preheat oven to 350 degrees.
-Blend butter and sugar until creamy. Add in eggs one at a time, combining after each addition. Then add in vanilla.
-In a separate bowl combine cocoa, flour, salt, and baking soda. Gradually combine into creamed mixture.
- Fold in chocolate chips. I did use semi-sweet chocolate chips but feel free to be different. I'm sure either white chocolate chips or butterscotch would be amazing in these.
- Bake for 8-10 minutes, be careful not to overbake. Let cool on wire rack.

Cookie mountain!
Enjoy!

Sunday, December 11, 2011

Christmas Cutout Cookies

Every holiday season, this is what happens in my house. Traditional sugar cookies are one of the many things we end up baking, and now that my sister and I are old enough, we pretty much take up the process.

Now a few years ago, we finally switched our recipe. We got it from my wonderful Aunt Anne after my mom and I had been chowing down her cookies at almost every family get together. She says it's from The Joy of Cooking. And really... They're amazing.


Now, I ended up doubling the recipe but I won't frigthen anyone now by asking for a pound of butter for cookies.


Hungry yet? Good.

What you'll need:
  • 1 cup butter, softened
  • 2/3 cup sugar
  • 1 egg
  • 1 teaspoon vanilla
  • 2 1/2 cups sifted flour
  • 1/4 teaspoon salt
-Cream together egg, butter, and sugar.
-Blend in the vanilla.
-Mix in the sifted flour and salt.
-Chill the dough for 2 hours.
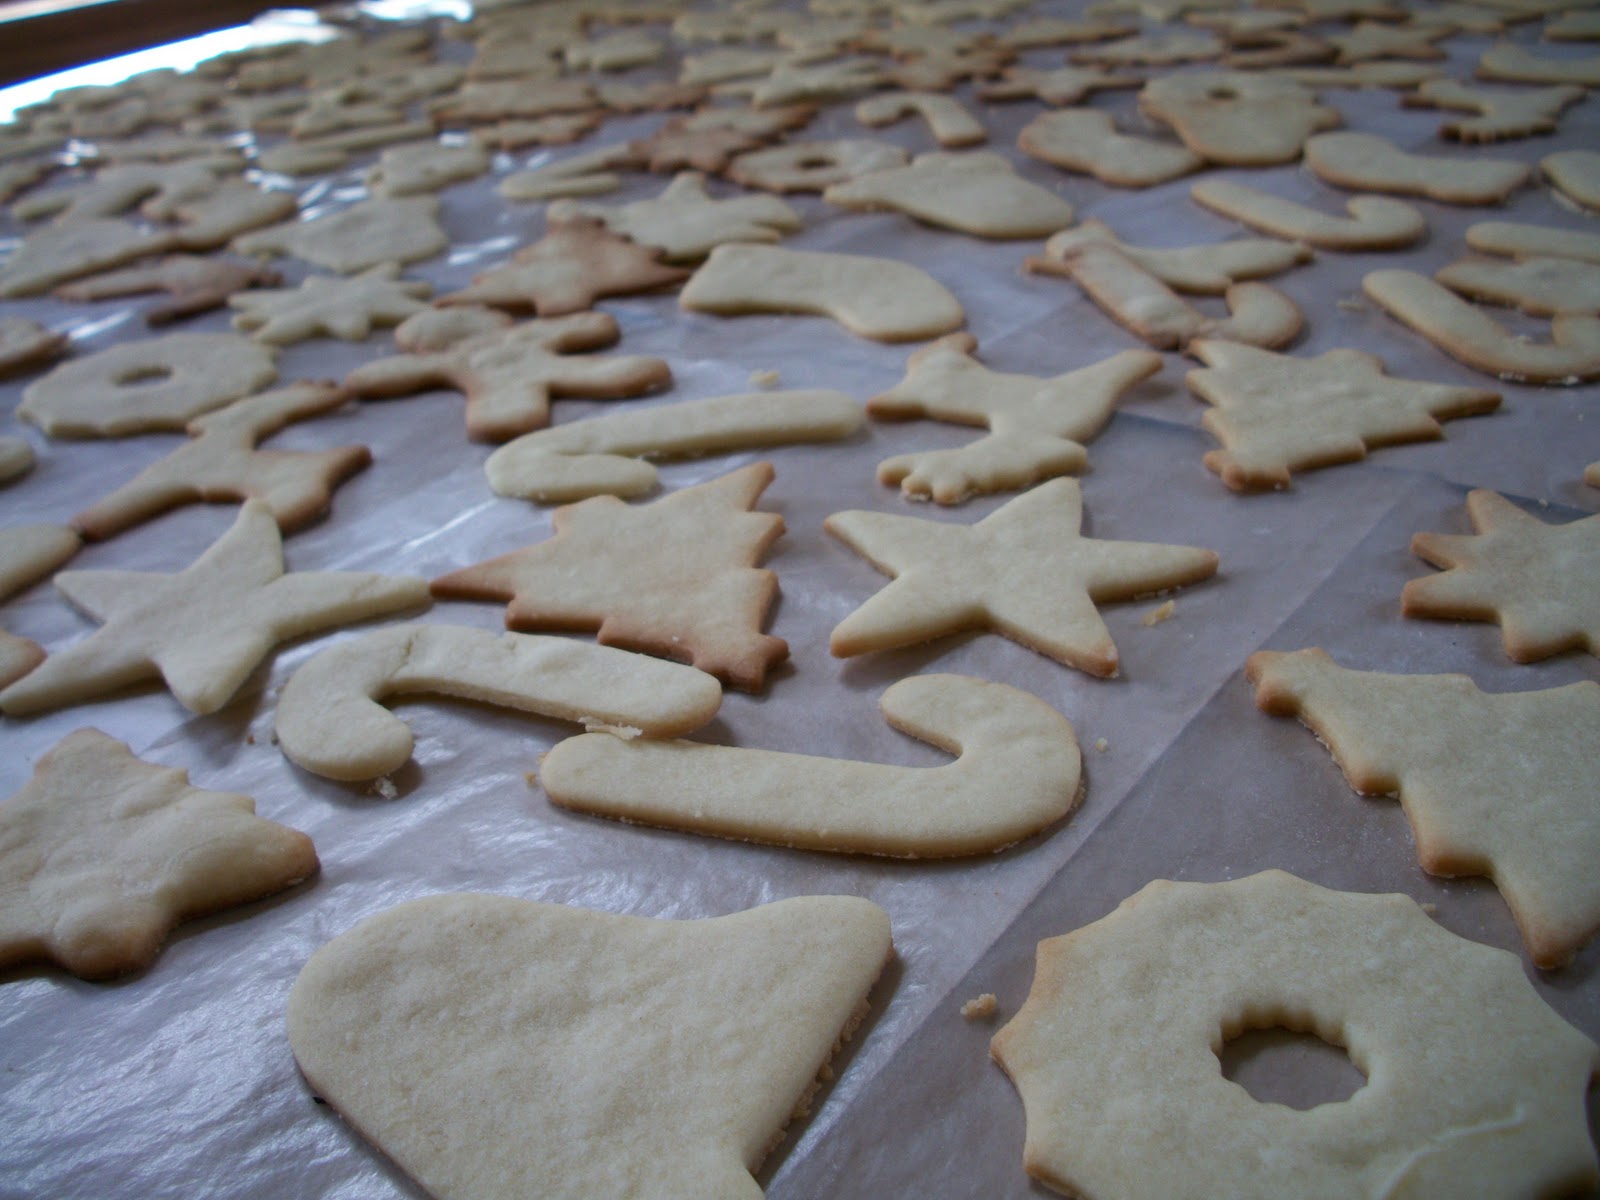
-Roll onto a floured surface, and cut into shapes

Yay for messes!

-Bake at 350 degrees for 8-10 minutes until slightly browned. Or in our case, until they're just slightly underdone. I think they're delicious that way.


Now of course, on to my favorite part... Frosting! Typically we use two different kinds of frosting... The one that we typically use for coloring is just a mixture of milk, vanilla, salt, and powdered sugar until you reach desired consistency. It makes this very pretty icing that dries to the cookies.


The second frosting we use, we always keep white. It's the recipe my Grandma Pat has been using for a very long time:

Mix together:
  • 3 cups powdered sugar
  • 1/3 cup butter
  • 1 teaspoon vanilla
  • 1/3 cup cream or milk.

Once the frosting is made, feel free to decorate as you please! We've always used an assortment of sprinkles and other goodies, but it's all up to you!


Aren't they pretty? I will admit...
We did get bored with decorating.
So some of them aren't exactly...
Pretty.


So... I hope you all have a wonderful holiday season, and as always... Enjoy!

Holiday Peppermint Bark via Tollhouse

It's that time of year again! No, not that time of year when I finally stop being lazy and start blogging a ton again... Well,  maybe that time too. I have been baking, I promise. I just have a tough time with my camera. But no worries. Today I have something involving one of the best elements of the holiday season: peppermint. More specifically, candy canes!

Well, I took the recipe from Allrecipes.com, but I modified it from there. And lemme tell you, it's ridiculously yummy. I hope my friends enjoy getting this treat as their presents for the holidays. It's the least I can do since I'm leaving them in about twelve days for a beach. I'm so excited to spend the holidays away from dreary Minnesota weather and instead spend it in Florida. Jealous? I would hope so.

What you need:
  • One package vanilla almond bark
  • 10-12 candy canes
- Line a cookie sheet with wax paper
- Melt almond bark according to directions.
- Place unwrapped candy canes in a plastic bag and crush using a rolling pin until in small pieces.
- Using a strainer, sprinkle the small pieces of the candy canes into the almond bark mix. Stir.
-Pour almond bark mixture onto baking sheet and spread. Top with remaining candy canes and press down lightly if needed.
- Let harden for an hour then break.